Tender and Juicy Grilled Whole Chicken
A new way to grill whole chicken! Removing the backbone and rib cage before grilling results in perfectly juicy and tender breast, leg, and thigh meat that is easy to cut.
I live 5 minutes away from a Costco. While this may seem irrelevant, the fact that I can buy a perfectly cooked rotisserie chicken for $4.99 whenever I want (except holidays, of course) means any chicken I make at home has to be damn good and worth my time and effort. This Grilled Whole Chicken is.
If we want to get scientific and technical, rotisserie is the easiest way to get a perfectly cooked chicken with juicy breasts and fully cooked thighs. Since most people, including myself, do not have a rotisserie at home, we need to get creative. For years, I cut out the chicken backbone, so it laid flat (aka spatchcocked). It works great; however, in the competition between a Costco chicken and a home-cooked spatchcocked chicken, Costco won. They are just too tasty and convenient.
While there are advantages to cooking a chicken at home, including having control over the quality of poultry and choice of seasonings, it wasn’t enough to change my habit of being a frequent flyer at the rotisserie chicken counter. That is until I came across The Bearded Butchers method for what they call a “flat chicken.” It seriously needs a new name because it is more than a spatchcocked chicken; they cut out the backbone and the rib cage.
Now, I don’t know about you, but I loathe shredding the breasts off the bone. Plus, boneless chicken breasts run a steep price that is often hard to justify for the average adult. This flat chicken method not only results in boneless chicken breasts but also incredibly tender and juicy breasts and thighs. No over-cooked, bland chicken breasts here.

How to Butterfly a Chicken
- Make a cut down the center of the chicken. Flip the chicken over on its backside with the legs of the chicken facing you. Take the tip of your knife and make an incision down the center of the chicken; from the neck to the tail.
- Separate the backbone and ribs from the chicken on the right side. Starting on the top right side along the backbone, use the tip of your knife to start separating the skin from the backbone. Use your other hand to pull the skin and meat away from the bone as you cut. As you continue to cut in small strokes along the chicken, keeping as close to the rib cage as possible, you will hit a joint in the wing. Cut through this joint. Continue separating the meat from the rib cage, working your way to the tail of the chicken. You will encounter another joint near the thigh. Cut through this joint. Continue to cut as close to the rib cage as possible until you reach the breast meat.
3. Separate the backbone and ribs from the chicken on the left side. Repeat the same steps for the left side of the chicken as you did for the right side. Remember to cut in small strokes along the chicken, keeping as close to the rib cage as possible, and look for the joints near the wing and thigh. Continue to cut as close to the rib cage as possible until you reach the breast meat.
4. Remove the ribs and backbone from the chicken. Using your hand and fingers, remove the backbone and ribs from the chicken. You now have a flat chicken with boneless chicken breasts and bone-in chicken thighs.
Before you start: Dry Brine and Two-Zone Indirect Cooking
DRY BRINE. Salting the chicken 6-48 hours before cooking helps the chicken retain its moisture, which leads to a juicier bird. To avoid the inevitable situation of forgetting to salt the chicken, I recommend doing this right when you bring the chicken home before you put it in the refrigerator. Note: you don’t need to flatten the chicken before you brine it, though it does make it easier.
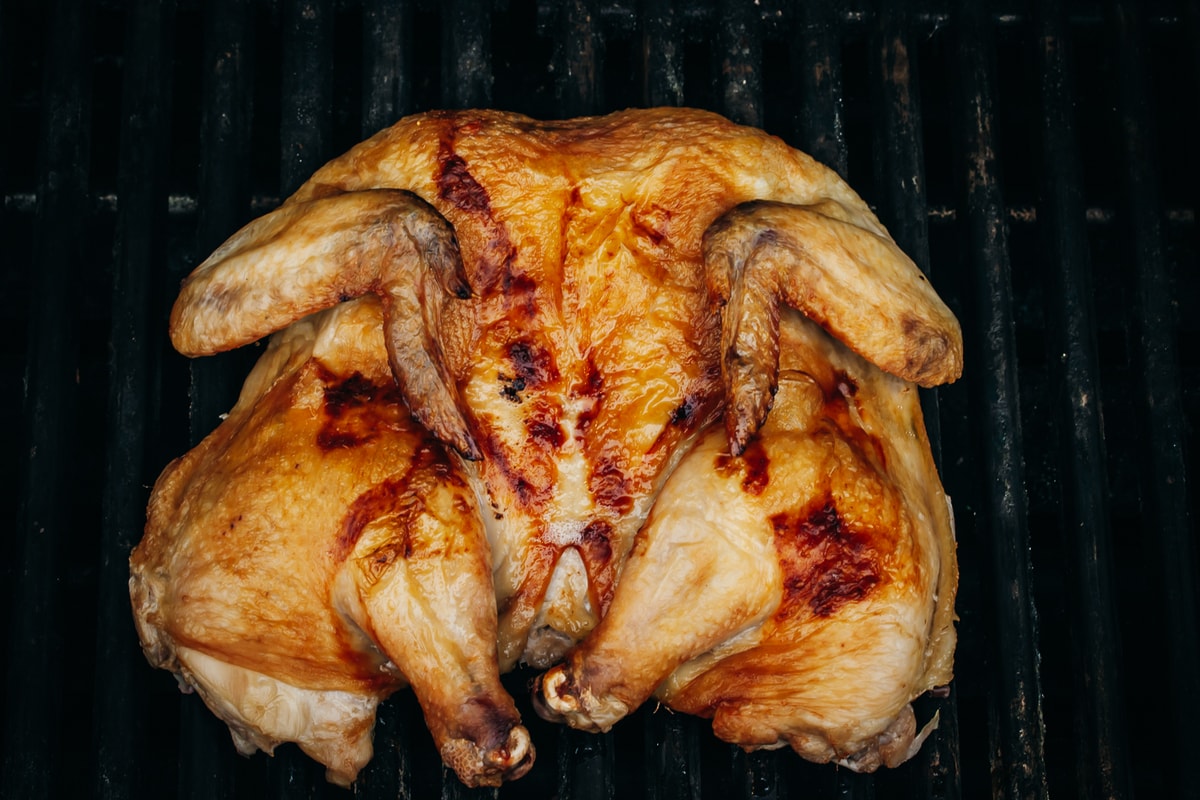
TWO-ZONE INDIRECT COOKING. To achieve two different heat zones on your grill, rake the hot coals to one side of the kettle for a charcoal grill or turn off one set of burners on a gas grill. Place the chicken on the cool side for the meat to cook through to the center, and then flip the chicken over to the hot side of the grill to achieve a nice crispy char.
Frequently Asked Questions
While you don’t have to brine the chicken, you should. Salting the chicken beforehand results in more flavorful, extra juicy, and tender breasts and thighs. It is like an insurance policy for your chicken, and in this case, you taste the benefits.
Yes! This is a year-round method that works great on the grill or in the oven.
Removing the backbone and rib cage and cooking the chicken flat speeds this process up immensely. Aim for grilling the chicken for 40 minutes, with mostly hands-off time.
Yes. The chicken is flipped over hot coals or flames for the last 3-4 minutes of cooking to get a charred and crispy skin.
Condiments and Side Dishes for this Grilled Whole Chicken
- Perfectly Sweet Chipotle Barbecue Sauce
- Sweet and Spicy Oven-Baked Sweet Potato Fries
- 4-Ingredient Shredded Carrot Salad
- Three Bean Salad with Lemon and Dill
- Grilled Carrots with Jalapeño, Lime, and Cotija
Tender and Juicy Grilled Whole Chicken

A new way to grill whole chicken! Removing the backbone and rib cage before grilling results in perfectly juicy and tender breast, leg, and thigh meat that is easy to cut.
- Prep Time: 10 minutes
- Brine Time: 6 hours
- Cook Time: 35 minutes
- Total Time: 6 hours, 45 minutes
- Yield: 6 servings 1x
- Category: Main Dish
- Method: Grill
- Cuisine: American
- Diet: Gluten Free
Ingredients
- 3 1/2 – 4 1/2 lb whole chicken, giblets removed
- 1 3/4 teaspoon kosher salt, preferably Diamond Crystal*
- 2 tablespoons butter, melted
Instructions
- Prepare the chicken. Lay the chicken backside up, and remove the rib cage and backbone from the chicken using a sharp knife. See the video above or have your butcher do this for ease.
- Brine the chicken. Start by sliding your fingers between the meat and the skin, entering at either end of the chicken to loosen the skin covering the breast meat and thigh. Working slowly, separate as much of the skin from the meat as your fingers can reach. Take a large pinch of salt between two fingers and use your fingers to push the salt beneath the loosened skin. Pick up more salt and continue this process until the salt is as evenly distributed as possible underneath the skin. Make sure to salt the thighs and breasts. Cover the chicken in an air-tight container or plastic gallon bag and refrigerate for at least 8 hours and up to 48 hours. The longer the better!
- Bring the chicken to room temperature. Prior to grilling, remove the chicken from the refrigerator and place it on your kitchen counter to come to room temperature, about 1 hour.
- Preheat the grill. Preheat the grill to high to heat the grill grates. Once the grill is preheated, brush the grates with olive oil. Turn off one burner on one side of the grill, or for a charcoal fire, arrange the coals to one side of the kettle.
- Grill the Chicken. Place the chicken flat on a rimmed baking sheet, breast-side up. Using paper towels, pat the chicken skin to remove any excess moisture. Brush the butter on the chicken skin. Place the chicken flat on the side of the grill with indirect heat, breast-side up. Close the lid, and cook the chicken until the juices run clear and a digital thermometer inserted into each chicken leg reads 170°F, about 35 – 40 minutes.
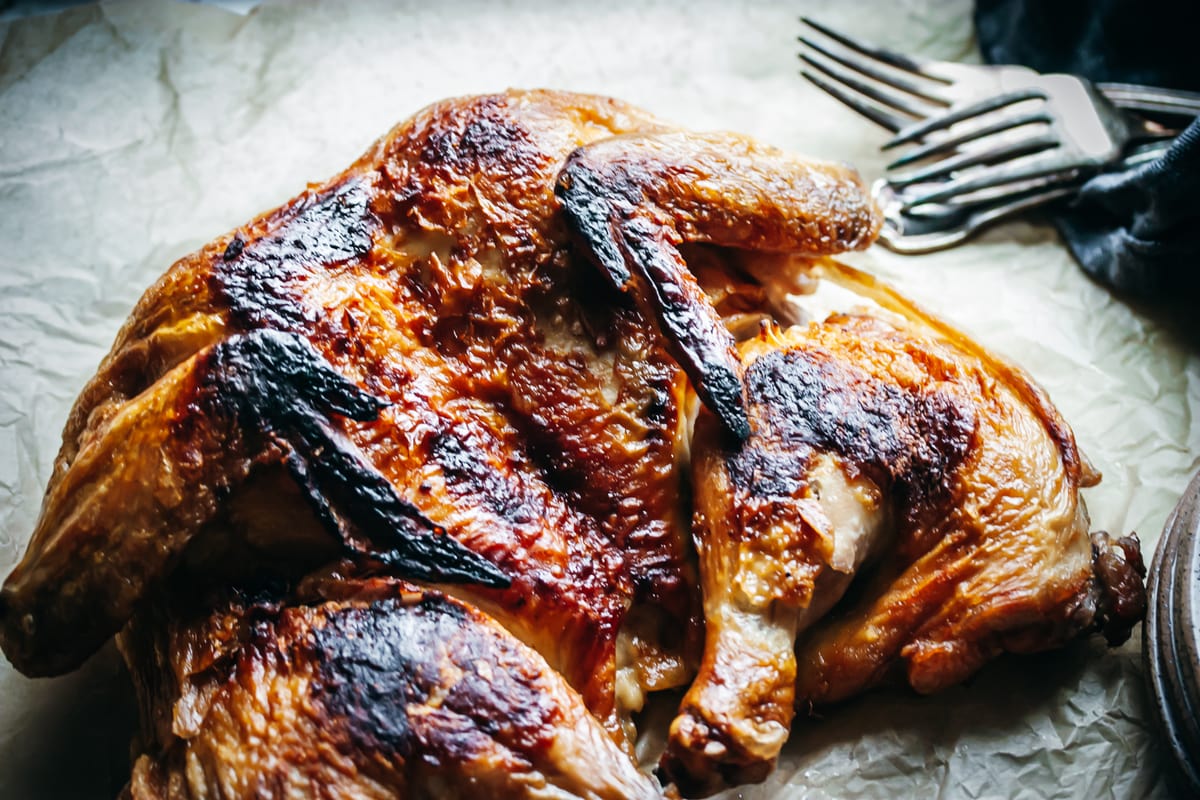
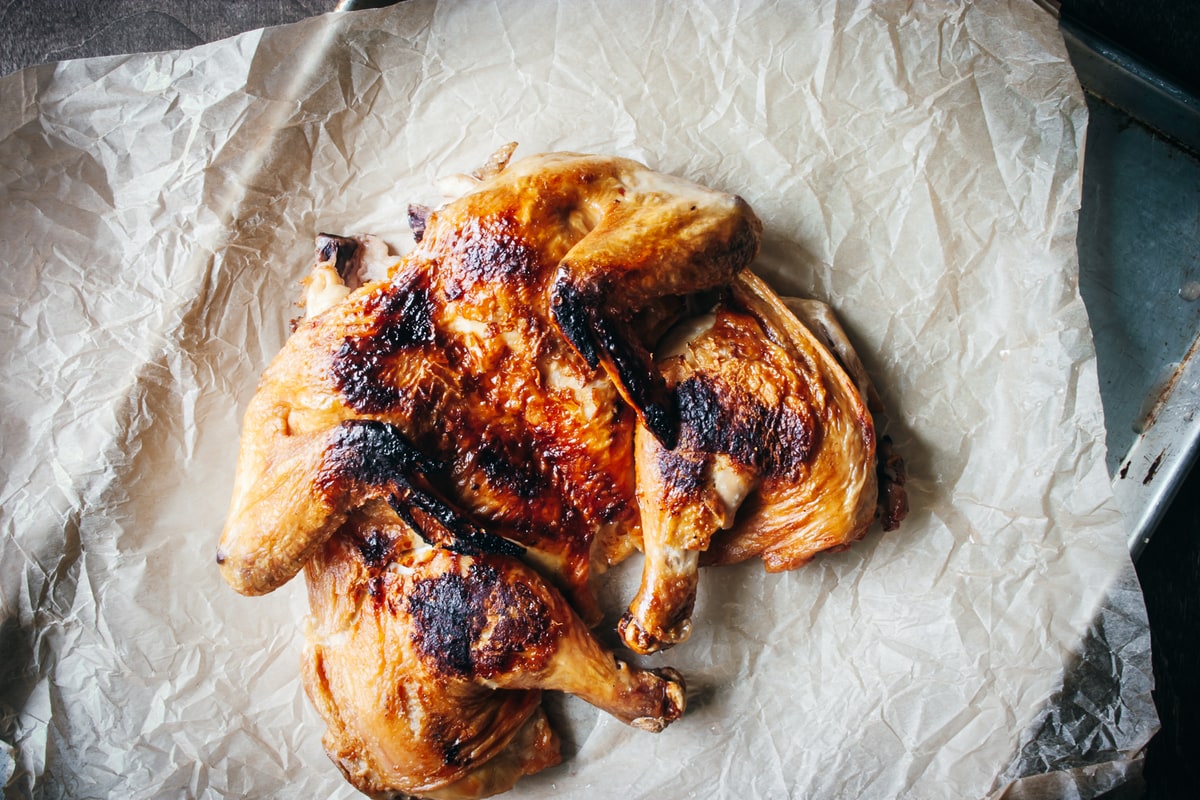
- Char the chicken skin. Once cooked, using a large spatula, flip the bird over onto the hot side of the grill. Char the chicken skin until crisp and blistered, about 3 minutes.
- Serve. Remove the chicken from the grill to a serving platter or plate and cover it loosely with foil. Let it rest 15 minutes before cutting.
Notes
NO GRILL? Roast the chicken on a rimmed baking sheet at 400°F (204°C) until the juices run clear and a digital thermometer inserted into each chicken leg reads 170°F, about 35 – 40 minutes.
CHOOSING YOUR SALT. 1 teaspoon fine sea salt = 1 1/4 teaspoons Morton’s kosher salt = 1 3/4 teaspoons Diamond Crystal kosher salt
STORAGE. Store leftover chicken in an air-tight container in the refrigerator for up to 4 days. Use leftovers in quesadillas, homemade pizza, stir-fries, or casserole dishes.
Nutrition
- Serving Size: 1/6 of recipe
- Calories: 176 calories
- Sugar: 0g
- Sodium: 766mg
- Fat: 13.3g
- Saturated Fat: 5.1g
- Carbohydrates: 0g
- Fiber: 0g
- Protein: 13.5g
- Cholesterol: 74mg